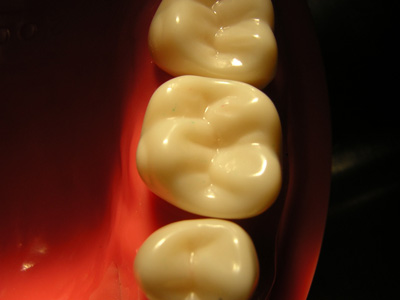
 Figure 1
Occlusal view of Maxillary I st molar(16)
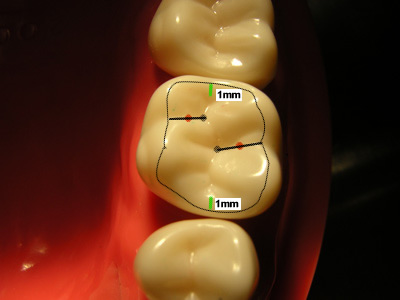 .
.Figure 2
Showing extent of cavity
Fissure extensions extend halfway(red dot) from pit to occlusal surface outline.
Dovetails are kept 1mm inside the Marginal ridge (green line).
 Figure 3
Class 1 cavity outline based on above landmarks.
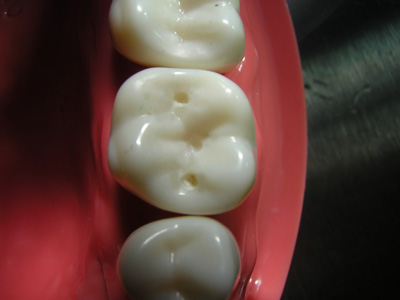
Figure 4
Initial depth cuts
Initial depth cuts are made with a small round bur to a depth of 1mm
Location : Central , Mesial and Distal fossa
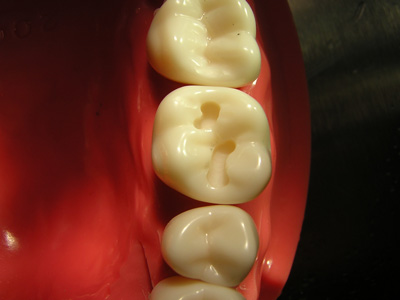
Figure 5
Initial Cavity preparation
Depth : 2mm
Note : Bur is kept perpendicular to long axis of tooth .

Figure 6
Final cavity preparation with cavity walls having tapers and inverse tapers.
See Fig 7 also .
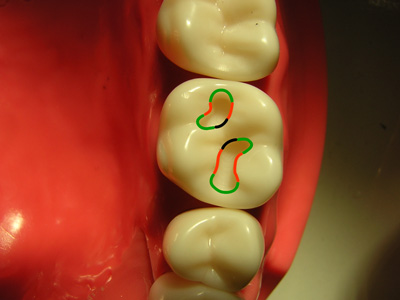
Figure 7
Cavity Walls marked in Black are kept parallel to each other and perpendicular to floor of Cavity
Cavity Walls marked in Green have been prepared with Taper.
Cavity Walls marked in Red have been prepared with Inverse taper.
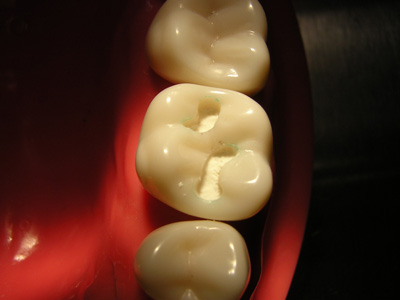
Figure 8
Base Application
Zinc Phosphate cement base of thickness 0.5 mm has been applied to Floor of the cavity.
Note: Care is taken to remove traces of cement from cavity walls.
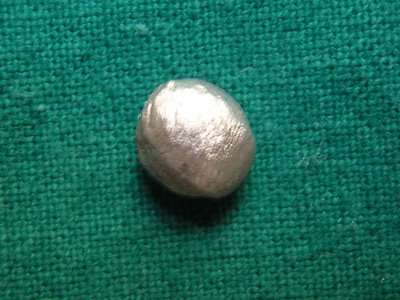
Figure 9
Properly triturated Amalgam .
Note the shiny surface
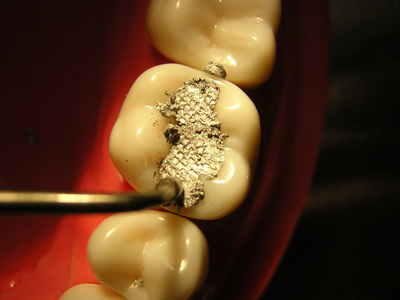
Figure 10
Amalgam being condensed into cavity with Amalgam condenser.
Note the serrations of the Amalgam condenser on the surface.
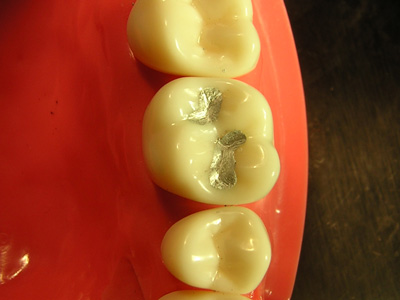
Figure 11
Appearance of Filling after Burnishing and Carving to the appropriate occlusal form.
Note :Amalgam does not extend beyond cavity outline.
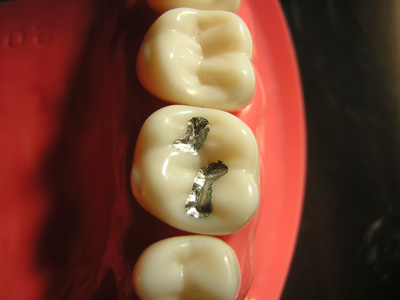
Figure 12
Final appearance of filling after finishing and polishing

No comments:
Post a Comment